Getting started
- Follow installation. Use the synthetic desktop mode to explore the interface before connecting hardware.
- For real devices, mount the camera securely and place a high-contrast dark circle in view. Measure its actual diameter in millimetres.
- Open Preferences using the cog at the bottom of the navigation rail. Select the camera and microphone, then set Tracking > Circle diameter.
- Check the live camera view and tracking status. Adjust rotation, flips, brightness and contrast as needed. Save your preferences.
- Open Sessions, select New session and choose its name, category, target face, position, shot diameter, timing windows and shots per series. Select Create session, then Start session on the target page to record.
- Use Stop session when finished. Select a shot to review its trace and use the replay controls beneath the target.
- Open Sessions from the rail to reopen, rename, categorise, delete, import or export sessions. Use the muted print icon beside the target controls to print the current results.
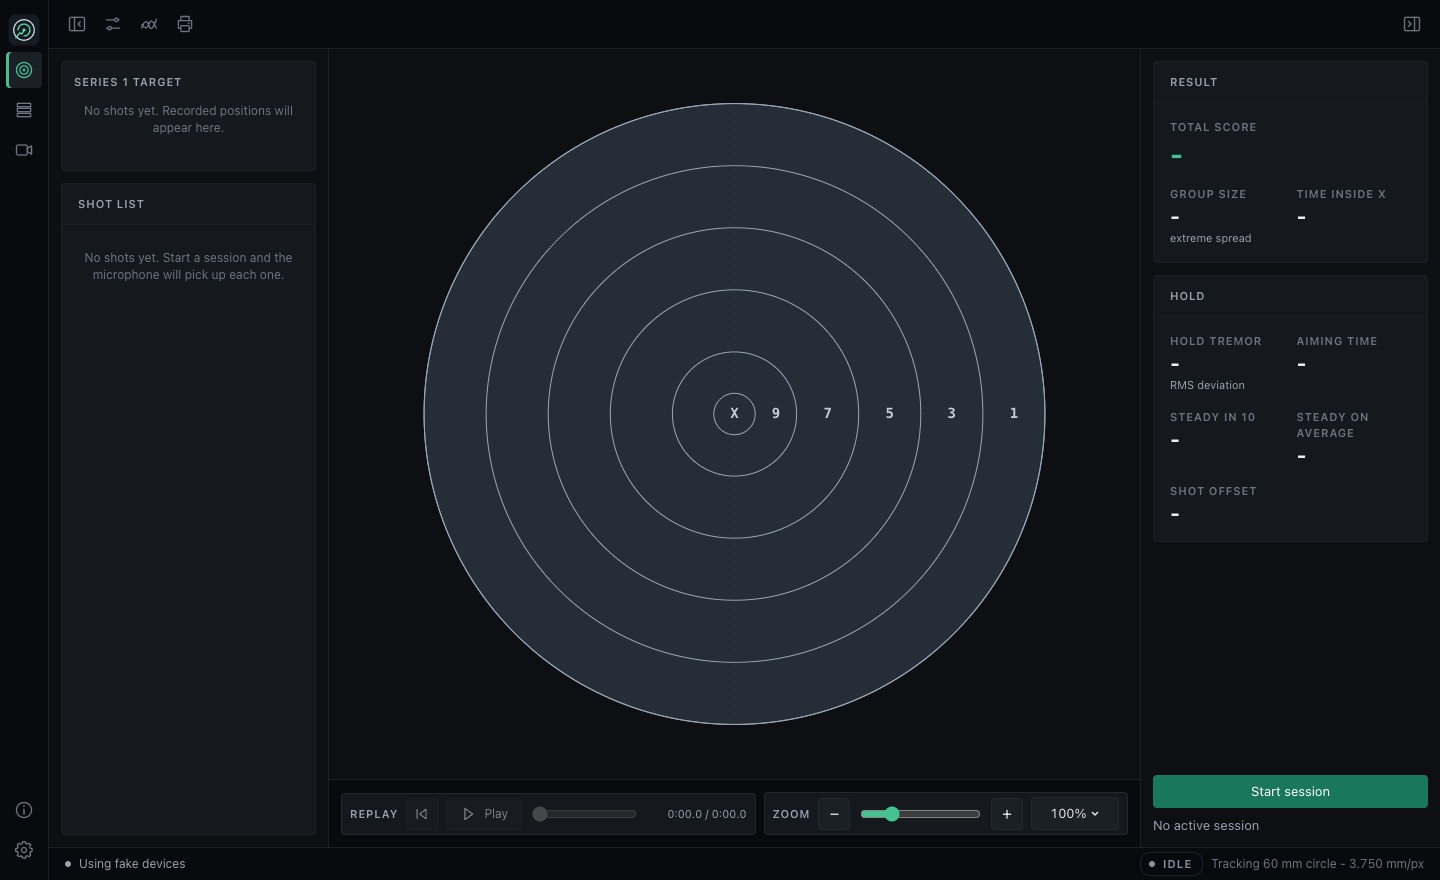
A synthetic or browser mock session demonstrates the interface. It does not validate measurement accuracy or device support.